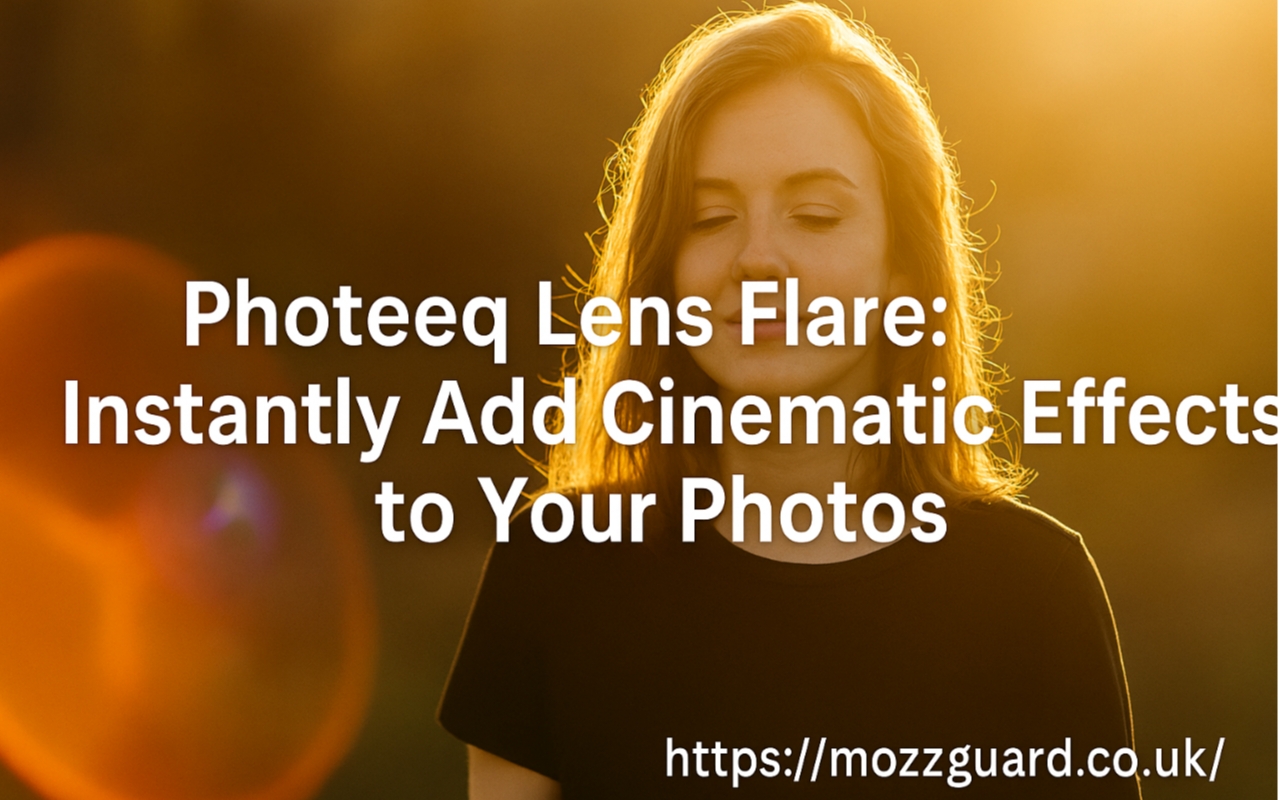
What is Photeeq Lens Flare?
Photeeq Lens Flare is a digital photo editing effect that simulates the scattering of light through a camera lens, often resulting in vibrant, dramatic streaks or halos of light. This effect can be used to replicate how natural light interacts with camera optics, often seen in high-end photography and cinema. Photeeq, known for its powerful plugins and editing tools, offers a unique take on this classic visual enhancement by providing photographers and digital artists with an intuitive interface and high-quality flare presets. This makes it easier than ever to inject a sense of warmth, realism, and cinematic flair into images with just a few clicks. By using Photeeq Lens Flare, users can create dynamic images that evoke emotion and depth, mimicking the sun peeking through clouds or the reflection of headlights on a rainy night.
The Importance of Lens Flare in Visual Storytelling
Lens flare, when used correctly, is much more than a light artifact; it’s a storytelling tool. It enhances visual composition by adding a touch of realism or emotion, suggesting natural lighting conditions or even evoking a particular mood. In movies, lens flares often signify heightened drama or intensity. Similarly, in photography, it can give a static image a dynamic feeling, suggesting movement or time of day. Photeeq Lens Flare excels at giving users control over this artistic element, allowing for subtle or pronounced applications depending on the desired effect. Whether you’re shooting portraits, landscapes, or urban photography, using lens flares can bring a sense of atmosphere and narrative depth to your images, drawing the viewer into the scene.
Features of Photeeq Lens Flare
Photeeq Lens Flare stands out for its combination of simplicity and depth. Here are some key features that make it a popular choice among digital creatives:
- Customizable Flare Types: Choose from a variety of flare shapes and styles including anamorphic, radial, and subtle glow effects.
- Easy Integration: Works seamlessly with popular photo editing platforms, particularly Adobe Photoshop and Lightroom.
- Real-Time Preview: Allows users to see changes instantly before applying them, helping in fine-tuning the effect.
- High-Resolution Output: Ensures the added effects do not degrade image quality, maintaining professional standards.
- Layer Support: Enables non-destructive editing, preserving the original image while giving freedom to experiment.
These features make Photeeq Lens Flare not only accessible for beginners but also powerful enough for professional use.
How to Install Photeeq Lens Flare
Getting started with Photeeq Lens Flare is straightforward. First, download the plugin or extension package from the official Photeeq website or a trusted digital marketplace. Once downloaded, follow these general steps:
- Unzip the Downloaded File: Locate the plugin file and extract it to a known location.
- Open Your Editing Software: Launch Photoshop, Lightroom, or your preferred compatible software.
- Install the Plugin: Navigate to the plugin or extension manager in your software and select “Add New” or “Install Plugin.” Browse to the folder where you extracted Photeeq and select it.
- Restart Your Software: After installation, restart your editing application to activate the plugin.
- Access the Plugin: Once restarted, you can access Photeeq Lens Flare from the Filters or Effects menu.
Make sure to check system requirements and plugin compatibility with your editing software version for smooth performance.
Using Photeeq Lens Flare: A Step-by-Step Guide
Once installed, using Photeeq Lens Flare is a seamless experience. Here’s how to effectively use the tool:
- Open Your Image: Start with a high-quality image that could benefit from light enhancements.
- Select the Photeeq Lens Flare Effect: Go to the effects menu and choose Photeeq Lens Flare.
- Choose a Flare Style: Browse through the available styles and pick one that matches the mood or lighting of your photo.
- Position the Flare: Click and drag the flare to the desired location on the image. Most users place it near a light source, like the sun or a reflection.
- Adjust Intensity and Size: Use the adjustment sliders to modify brightness, contrast, size, and angle.
- Preview and Fine-tune: Utilize real-time previews to tweak your settings until you’re satisfied.
- Apply and Save: Once the desired effect is achieved, apply the flare and save your work.
Experimenting with various combinations can result in a wide range of artistic outcomes, giving your images a signature style.
Creative Applications for Photeeq Lens Flare
Photeeq Lens Flare isn’t just for adding sunlight to a dull sky. It has numerous creative applications:
- Portrait Photography: Add backlighting effects to create halo-like glows or dreamy aesthetics.
- Landscape Photography: Simulate the golden hour or create dramatic sunset effects.
- Night Scenes: Use flares to mimic headlights, streetlights, or neon reflections for a cinematic nightscape.
- Event Photography: Enhance the ambient lighting at concerts or parties with subtle flares.
- Product Shots: Highlight products with focused flares to draw attention and create a spotlight effect.
When used thoughtfully, lens flare can elevate a basic shot into something memorable and emotionally resonant.
Tips for Realistic Lens Flare Effects
To avoid overdoing it, here are some best practices:
- Match the Light Source: Make sure the direction and color of the flare align with the existing light in your photo.
- Use Sparingly: Less is often more. Overuse can make the image look fake or distracting.
- Blend Naturally: Utilize layer masks or opacity settings to integrate the flare smoothly into the scene.
- Consider Lens Type: Match the flare style to the lens used during the shoot (e.g., anamorphic flares for cinematic lenses).
- Use High-Resolution Images: Higher quality images handle post-processing effects better without visible artifacts.
Photeeq gives you the control needed to follow these guidelines easily, making realism achievable even for beginners.
Common Mistakes to Avoid
Even with a powerful tool like Photeeq Lens Flare, mistakes can happen. Here are common pitfalls:
- Placing Flares Without Context: Random placement can confuse the viewer. Ensure there’s a logical light source.
- Too Much Brightness: Overexposed flares can wash out details in your image.
- Clashing Colors: Use flares that complement, not clash with, the color tone of your photo.
- Ignoring Composition: A flare should enhance the visual flow, not interrupt it.
- No Post-Flare Adjustment: Always refine the final image after adding a flare—adjust contrast, shadows, and highlights to harmonize the effect.
Avoiding these errors ensures your edits remain tasteful and professional.
Alternatives to Photeeq Lens Flare
While Photeeq Lens Flare is highly regarded, other options exist:
- Adobe Photoshop Native Flares: Offers basic flaring capabilities.
- Lens Distortions Plugin: Known for high-quality, cinematic flares and overlays.
- ON1 Effects: Includes various flare presets among other visual effects.
- Luminar AI: Integrates AI-enhanced lens flare features with automatic detection.
However, Photeeq stands out due to its ease of use, customizability, and balance between realism and artistic control. For most users, it hits the sweet spot between power and simplicity.
Final Thoughts: Why Choose Photeeq Lens Flare?
Photeeq Lens Flare provides a powerful yet user-friendly way to breathe new life into your photographs. Whether you’re a hobbyist looking to add mood to your snapshots or a professional photographer aiming to perfect your visual storytelling, Photeeq offers the tools to do so with precision and creativity. Its real-time previews, high-resolution support, and intuitive interface make it an ideal choice for anyone looking to elevate their photo editing game. By mastering the Photeeq Lens Flare plugin, you not only gain control over a critical aspect of visual aesthetics but also unlock a world of creative possibilities that can set your work apart.
Investing time in learning how to use Photeeq Lens Flare effectively can dramatically improve the quality of your photo edits and help you achieve that coveted cinematic look with ease.
Read more: Artists Directory ArcyArt: Connecting Art Lovers with Creative Talent